As crafters we love getting a jump start on crafting projects before the season is upon us. That is why Christmas in July is a perfect time to get started thinking and working on Holiday projects. When December rolls around we won't have time to create the beautiful works of art we want, so it is great when we have some time to start working on projects ahead of time and getting them done.
Paperless Post is celebrating Christmas in July and has asked me to create a few fun projects to celebrate the occasion. I jumped on the chance to work on it, I am always saying I am going to do Christmas projects in July and get a head start, but like so many of us Thanksgiving is here and I realized I haven't made my Christmas cards!! Check out Paperless Post's Christmas cards page for so many amazing designs and creations.
So here is a full Christmas in July themed ensemble with decor, menu and cards. Each project is detailed below along with a link list on the bottom if you want to get some of them items and get started yourself.
Stay tuned tomorrow for another set of projects and cards for my Christmas in July extravaganza.
 Ingredients to make the Menu card:
Stamp Sets: Time of Year, Holly Jolly Greetings
Ink: Real Red, Versamark
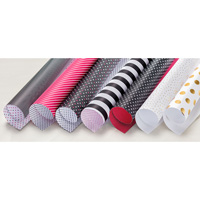
Paper: Whisper White, Basic Black, Real Red, Pop of Color Designer Series Paper
Tools: Whisper White Embossing Powder, Heat Gun, Embossing Buddy, Sweet & Sassy Framelits
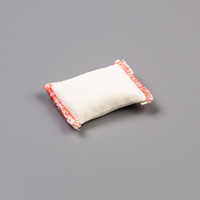
Project Detail: The snowflake was stamped in Versamark ink. Then embossing powder was sprinkle on and the powder was heat set with a heat gun. The embossing buddy is used to keep all stray powder off the card stock.
 Ingredients to make the Snowflake and Mitten banner:
Stamp Sets: Holly Jolly Greetings
Ink: Versamark
Paper: Whisper White, Basic Black, Real Red, Pop of Color Designer Series Paper
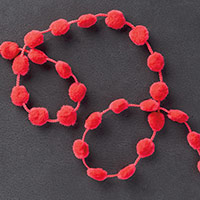
Accessories: Real Red Poppom Trim, Basic Black Baker's Twine, Mini Clothspins from a local craft store
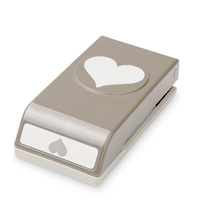
Tools: Whisper White Embossing Powder, Heat Gun, Embossing Buddy, Sweet & Sassy Framelits, Layering Circle Framelits, Sweetheart Punch
 Project Detail: To adhere the poppom trim, attach mini glue dots to the back of the poppom and then adhere to project. To get a mitten template, click here and choose one that works for you.
Ingredients to make the first card:
Stamp Sets: Holly Jolly Greetings
Ink: Versamark, Basic Black
Paper: Whisper White, Basic Black, Real Red, Pop of Color Designer Series Paper
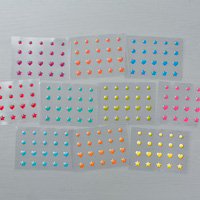
Accessories: Basic Black Baker's Twine, Bright Enamel Dots
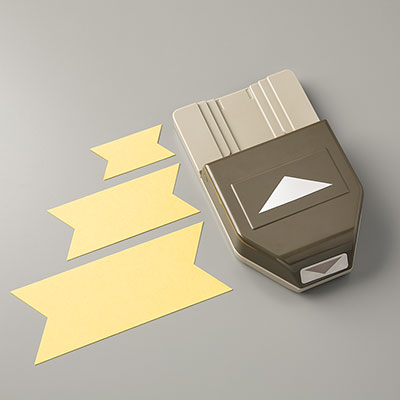
Tools: Whisper White Embossing Powder, Heat Gun, Embossing Buddy, Sweet & Sassy Framelits, Triple Banner Punch

Ingredients to make the second card:
Stamp Sets: Holly Jolly Greetings
Ink: Versamark
Paper: Whisper White, Basic Black, Real Red, Pop of Color Designer Series Paper
Accessories: Bright Enamel Dots
Tools: Whisper White Embossing Powder, Heat Gun, Embossing Buddy, Sweet & Sassy Framelits, Triple Banner Punch, Project Life Corner Rounder
Ingredients to make the cupcake holder:
 Stamp Sets: Holly Jolly Greetings
Ink: Versamark,
Paper: Whisper White, Basic Black, Real Red
Tools: Whisper White Embossing Powder, Heat Gun, Embossing Buddy, Sweet & Sassy Framelits
Project Detail: Click here to choose a cupcake template that will work for your project.













No comments:
Post a Comment