So for the next 7 weeks, on Thursday and Friday I will posting Holiday projects! So by November 15th, you will have 12 amazing holiday cards and gift ideas!
Like the gift idea, but you have no time to make them? Email me today and I can make the project for you. I am happy to do custom orders for your holiday gifts.
We can also turn a couple of these holiday projects into a class where you and your friends can learn how to make the projects and go home with completed projects at the end of the day. So gather up 5 or more friends and we can have a party!
So let's get started with the fun!
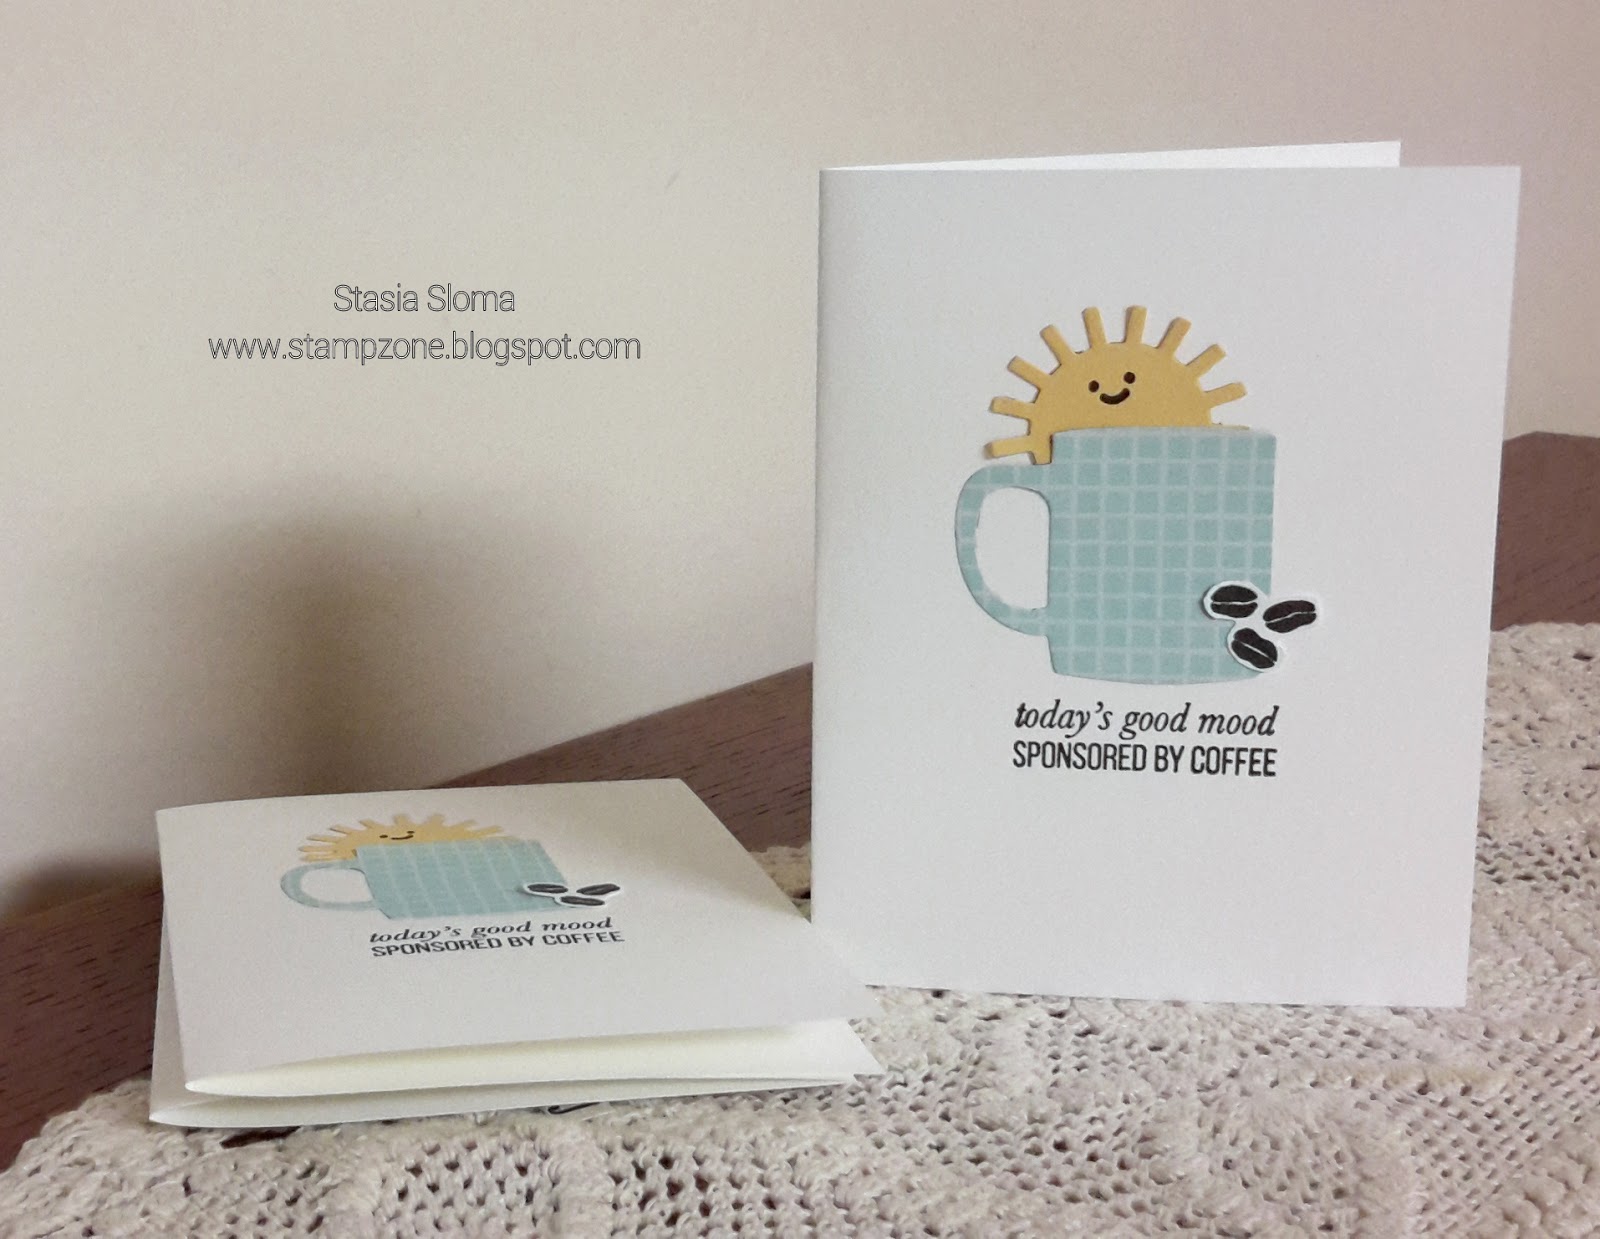
1st day of Christmas - Hot Chocolate Mug

Stamp Sets:
131781 Festive Flurry (clear) $29.95
131778 Festive Flurry (wood) 39.95
Ink:
131171 Bermuda Bay $5.95
Paper:
122924 Soft Sky Card Stock (24 sheets) $6.95
100730 Whisper White Card Stock (40 sheets) $8.50
132341 Winter Frost Specialty Designer Series Paper (12 sheets assorted) $12.95
Accessories:
117273 Antique Brads (20 brads) $5.95
114319 Whisper White Organza Ribbon (15 yards) $5.95
Tools:
119855 Large Oval Punch $15.95
126189 Paper-Piercing Tool $3.95
Adhesives:
104294 Sticky Strip (10 yards) $6.95
103683 Glue Dots (300 dots) $4.95
Tips & Tricks to make the project:
Template for the mug can be found at this link.
Instead of trying to cut out the mug handle, use the large oval punch.
Adhere sticky strip to the left, right and bottom of the mug. This will allow for your contents to stay securely inside the pouch without falling out.
Use your paper-piercing tool to make a hole to put your brad through.
To attach the ribbon, use your glue dots. Before attaching the brad to the center of the ribbon. Use wire cutters or your craft scissors to remove the back of the brads. Attach the brad to the ribbon with glue dots